Rigorous Supply Chain Management
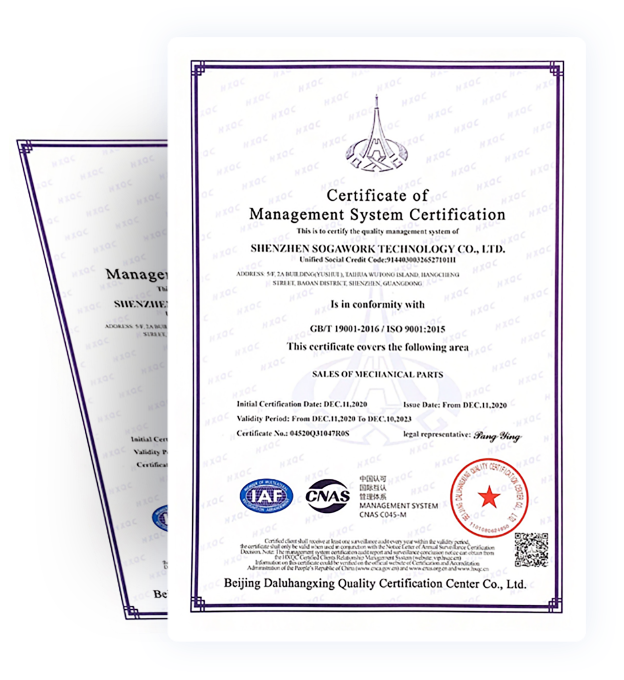
Both self-operated and cooperative suppliers must comply with our manufacturing and quality control standards; Strict selection of suppliers: only 1 out of 6 applications can pass the partner recruiting process; Upstream and downstream coverage: strict control of the source of materials, and qualified surface treatments.
Professional Technical Review
Our engineering team performs a technical assessment of your parts design before production. We give feedback to the customers on the material, surface finish, structure, process, and other details of your 3D and 2D drawings to minimize pitfalls.
Well-Monitored Production Process
Your parts are to be machined in strict accordance with the standard process flow; Mass production after prototyping is only carried out after passing the FAI report; IPQC is carried out during the production process to ensure that each process is correct.
All Parts Fully Inspected
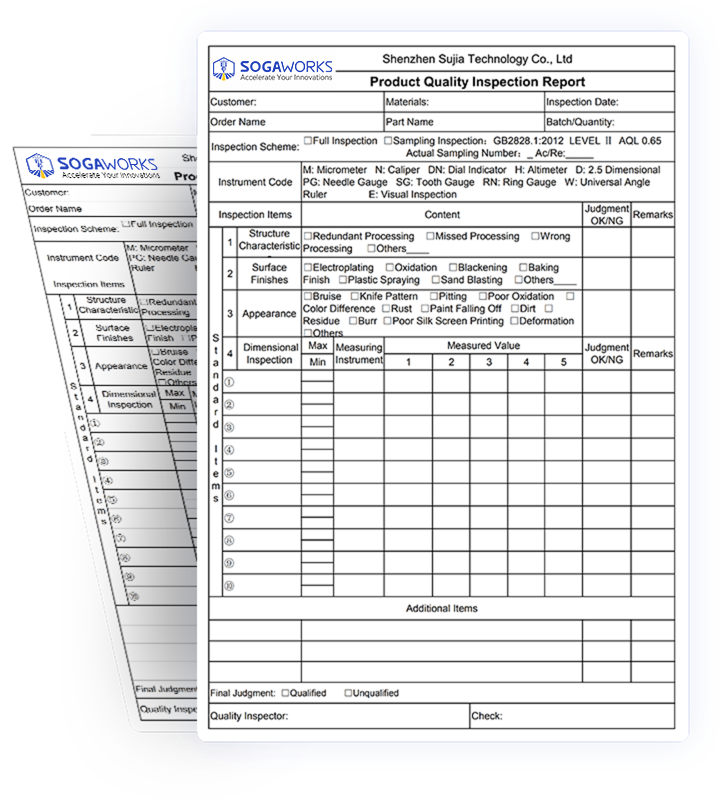
Our dedicated QC team follow strict quality control protocols to inspect all parts before shipping. A few types of test reports can be provided if required.
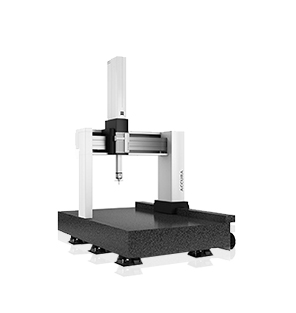
Zeiss Coordinate Measuring
Machine
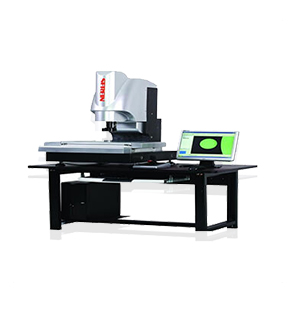
Hexagon 2.5-Dimensional
Tester
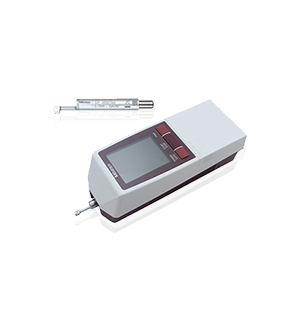
Roughness Tester
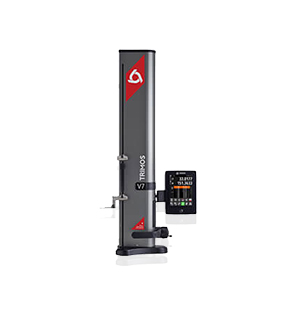
Altimeter
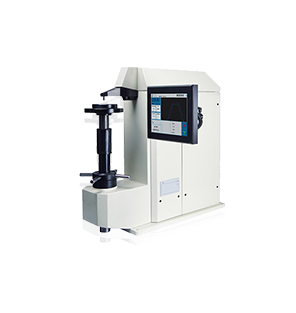
Rockwell Hardness Tester
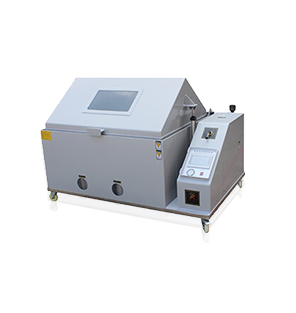
Salt Spray Tester

Standard QC Card
Material Report
Dimensional Check Report
First Article Inspection Report
Hardness Test Report
Salt Spray Test Report
CMM Inspection Report
Self-Defined: Provide on Your Demand


Fully inspected before delivery
We promise to be responsible for any defects and free change
Both self-operated and cooperative suppliers must comply with our manufacturing and quality control standards; Strict selection of suppliers: only 1 out of 6 applications can pass the partner recruiting process; Upstream and downstream coverage: strict control of the source of materials, and qualified surface treatments.
Our engineering team performs a technical assessment of your parts design before production. We give feedback to the customers on the material, surface finish, structure, process, and other details of your 3D and 2D drawings to minimize pitfalls.
Your parts are to be machined in strict accordance with the standard process flow; Mass production after prototyping is only carried out after passing the FAI report; IPQC is carried out during the production process to ensure that each process is correct.
Our dedicated QC team follow strict quality control protocols to inspect all parts before shipping. A few types of test reports can be provided if required.

Zeiss Coordinate Measuring Machine

Hexagon 2.5-Dimensional Tester

Roughness Tester

Altimeter

Rockwell Hardness Tester

Salt Spray Tester
Standard QC Card
Material Report
Dimensional Check Report
First Article Inspection Report
Hardness Test Report
Salt Spray Test Report
CMM Inspection Report
Self-Defined: Provide on Your Demand
